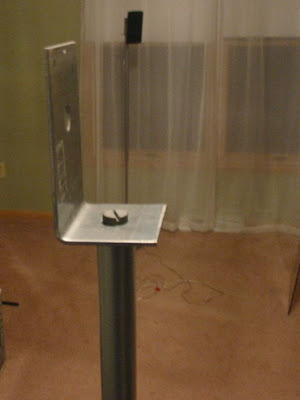
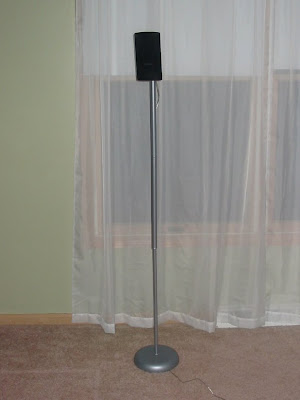
 1. take the lamp stand out of the box (it is partially assembled).
 2. remove the electrical parts using pliers. the wiring will need to be cut and the plastic pieces removed.
 3. reassemble the stand just like a lamp.
4. use the coat hanger to feed the speaker wire through the lamp. there are holes in the lamp stand near the top and bottom for this. you can either tie or tape the wire to the hanger.
 5. place the bracket on the top of the lamp stand and secure it using the threaded piece on the top of the lamp.
 6. mount the speaker (depending on how yours is made). i simply needed two washers, two nuts, and a screw to hang the speakers.
 7. admire your finished product!
 see more of kevin's speaker stand.


