First of all, thanks so much for your idea on the furniture layout! It’s hard to get a feel for the room just with the pics I posted – there are walkways behind both sofas, so for now, they have to stay put. But I am going to add a console table behind the long sofa for sure – I found a perfect table that isn’t too deep and it’s gorg! But for now I’m trying not to spend any cash. ;)
One of the first changes I made to the Bub’s room was his window – it looked like this for quite some time:
 I’ve gone back and forth for years now about adding a built in window seat in this spot. Some day I think we will, but for now, I needed a spot to put the rocking chair. The addition of a big boy bed made for little room for it. It fit perfectly into this little area -- so I decided to make a little “reading nook.”
Then it was time to address the window. I’ve slowly but surely been replacing all of our two inch blinds with bamboo roman shades (LURVE) and that was the first step:

I loved the shutters (found at an antique store) but with the move to a big boy room, they just felt too “nursery” to me. Or maybe I was just tired of them. I’ll go with the former. ;)
I played with a few ideas in my head. One was to make shutters like I did for the windows on our deck and hang them to each side of the window. I loved that idea, but I also had plans to add more light to this spot. It was going to look odd having the light sconces I had in mind installed on top of the shutters.
I wanted it to be light and airy feeling – and then I remembered the white muslin fabric I had bought for another project. I had a ton of it (I need to get more now for the other project, then I’ll share that one!), and it was only $1.99 a yard, and 40 percent off of that.
Score!
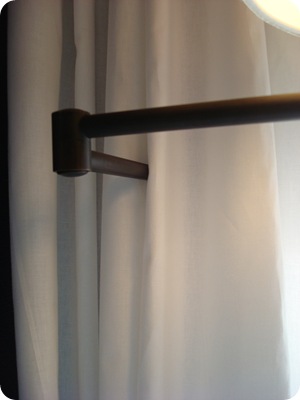
It was perfect!: I found the swing arm sconces at Home Depot ($30-something each?) and they were EXACTLY what I was looking for! Squeal! They are so gorg. And they even had drum shades, with a yummy basket weave-like fabric. (Just like the wallpaper I used in this space!)
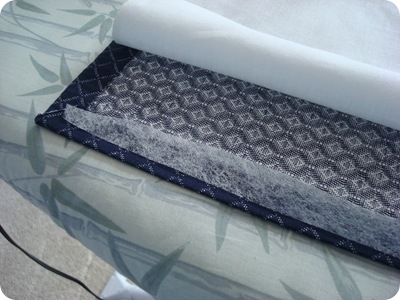
I still wanted to add a little something to the white drapes, so I decided to use extra fabric from his headboard project (coming soon). I started by hemming up the ends of the muslin with my iron and hemming tape:

Then I made panels of the accent fabric, hemming the edges with the no-sew tape:

And then I just ironed the panel to the muslin:
 I rarely ever sew drapes – I always use hemming tape! I cannot stress how easy it is to use! I always buy the super weight and it holds up great – for years and years and years. You can even wash items you use it on. I buy mine everywhere – Joann’s, Hobby Lobby, I think even Walmart has it?
This project would probably have been faster with a sewing machine – but by the time I get my little machine out and then try to sew a straight line, I’d rather just use hemming tape. ;)
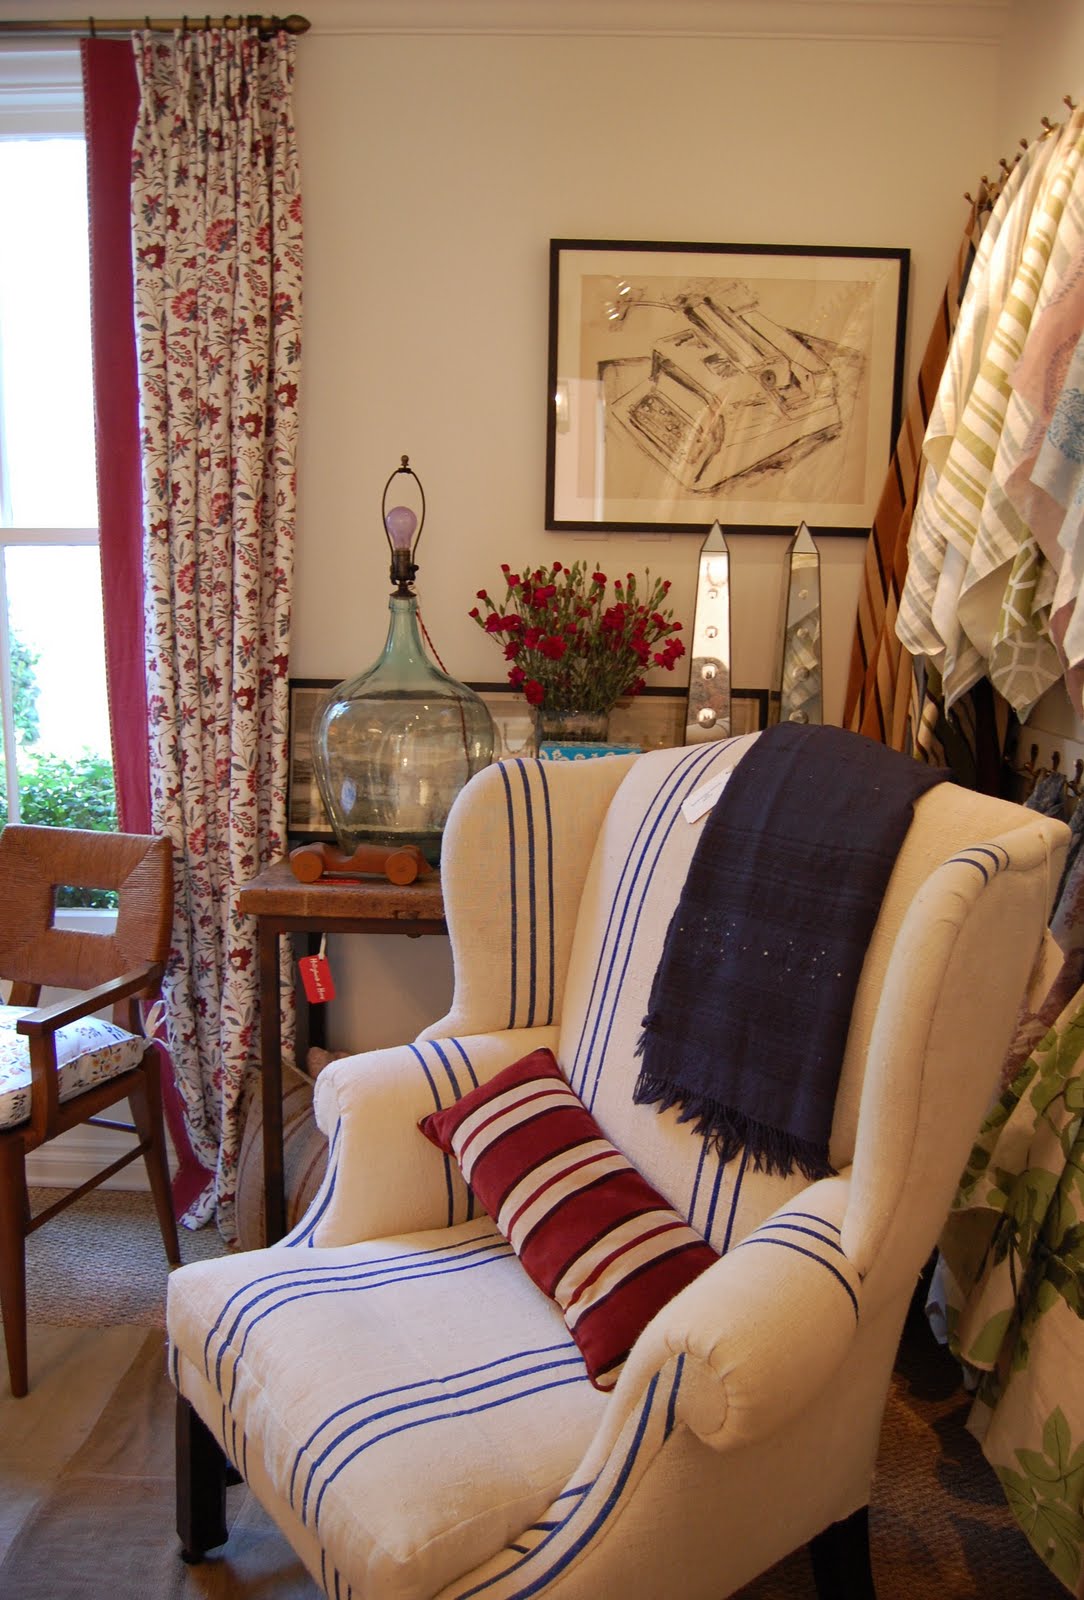
Now the little touch of navy blue really grounds the drapes, both literally and figuratively:

The extra fabric at the bottom helps to make them a bit more substantial and they hang much better now.
I planned to make the panels a little thicker than they are, but I didn’t have enough fabric. They ended up being eight inches tall:
I love love LOVE how they look next to the built ins:

Wooeee, I am in love with this navy and white combo! Classic.
Each sconce takes a 75 watt bulb, so it adds a TON of light:

The sconces are on the wall behind the fabric – and to make it so the arms came through the fabric, I separated the panels of muslin – one slightly thinner panel on the left, one wider on the right. So the arm of the sconce comes right through the fabric:

I can still close the wider section when I want, so they are operational.
I’m thinking about adding a cornice at the top, but I’m a little wary that it will get too busy, so I’m holding off for now.
I am so thrilled with the transformation! Before:
After!:
 I especially love this area at night! It’s so sweet to sit in this chair with the Bub – during the day, looking out on the land behind us. At night, reading, talking, just being. :)
All in all this spot was in the cost of the sconces and the bamboo shades (from Lowe’s). The fabric I already had for other projects. It is one of the first things you see when you walk in, so I felt like it was worth it!
The room is coming along just as I saw it in my head. Lurve. Lots still to do in here – art, accessorizing, molding, painting, painting and more painting. :) I can’t wait to show you the rest!
P.S. You can see peeks to other parts of the room in these pics – I know I said before I was trying to avoid primary colors when I started thinking of the redo a year ago. The whole irony in all of this is that primary colors are all that are going in here! AND I love it! :)


 Even the bathrooms were chic! The ladies room was papered in a salmon pink grasscloth and the woodwork and shutters were painted to match.
  The mirrored wall extended the tiny space as well!