The 411 on spray paint

I hope you had a wonderful Memorial Day weekend! I made a little bit of progress on the kitchen, but otherwise we just enjoyed having hubby home for four days straight!

School’s out for summer!!  ;) Whoohoo!

If you’ve read this blog for 2.1 seconds, you know how much I luuurve spray paint. In my humble opinion, there is no cheaper way to transform accessories and furniture.

And floor vents.

And roman blinds.

And plates.

Just about anything folks. Believe you me.  :)

Today I worked on a couple of spray paint projects for the kitchen that I wanted to show you. And while I was at it, I figured I would answer some of your most often asked spray paint questions.

I’ve had this large tray from Goodwill forever – almost ten years I think?:

before

I sprayed it in black spray paint, then later I added a vinyl monogram to it. Since I am redoing the kitchen and lightening things up a bit, I thought I would give it a little spray paint update!

I took off most of the vinyl but left just a bit, then sprayed it in an apple green spray paint (from Home Depot). After it dried, I peeled the vinyl off and left the black underneath:

It will most likely not stay as is -- it’s very very apple, and the coverage isn’t great, so I may to something to tone it down a bit. :) Maybe some distressing? We will see! I’m rearranging the tops of the cabs, but for now it sits next to a clearanced Pottery Barn bird cage – isn’t that adorable?

Which brings me to one of the FAQ spray paint questions:

Q:  Which brand/type of spray paint works best?

A:  I use black and white dollar spray paint (from various places – WalMart, Home Depot, Meijer, Lowe’s) all the time and it works great! Usually it just comes in glossy and matte, (shiny and not shiny) and it doesn’t cover quite as well as the more expensive stuff.

If you are working on something that already has a base coat, or something small, the cheap stuff will work just fine. If it’s furniture, plastic, outdoor equipment, etc. – use the nicer paint made for that.

Because I’m involved in the Amex spring home makeover initiative (yippeee!), I am redoing our kitchen with Membership Reward Points – and wooeee, it’s been fun! (I’ll give you another update later this week!) Today I got a new chandelier for over the kitchen table.

I really loved our old light, (which was a $30 Lowe’s score!), but I had hung it just a bit high, and it always felt just a teeny bit small for the table:

pot rack

So today I was able to purchase a purdy new fixture for the space:

As you can see, it came in a brushed nickel finish, and I was thisclose to keeping it that way, I liked it so much! But when I held it up over the table, it disappeared a bit with that finish. I wanted it to have some visual substance up there, so my ORB spray paint was to the rescue!

**I have no idea what “visual substance” means. But it sounded good. ;)

I taped off the lights, then hung the fixture from a hook out in the garage (I took down hubby’s lawn trimmer to do so) and then used nails to secure an old sheet on the wall behind it.

Which brings me to a couple more questions I get a lot:

Q:  Where do you spray paint in the different seasons?

A:  In the spring/summer/fall that’s easy – usually in the backyard or on the deck. Usually I can be found holding an item out at arm’s length, over the edge of the deck, spraying away. Then I’ll just lay it on the railing to dry.

I keep old sheets around that I use as drop clothes when I paint, but most often I use them on the garage floor to spray paint. A few many, many times hubby has come home to a slew of items drying on his side of the garage floor. Which I know thrills him to no end.  ;)

In the winter, I have been known to spray paint in the basement – but I do quick, light sprays, then leave immediately. Usually anymore, I do my winter painting in the garage.

Q:  Do I need to prep my surfaces for spray paint?

A:  Other than thoroughly cleaning an item, honestly I don’t prep much. :) If it’s bare wood, a spray primer is a really good idea. You’ll prime the surface and use way less spray paint in the end.

On wood items, sometimes I will do a light sanding to prepare the surface – but most of the time I don’t. On metal, I usually just spray directly on the surface, but if it’s something that will get a lot of handling, I definitely prime it first. I have sprayed many metal lamps and did not prime because (the bases) don’t get touched much.

Same goes for light fixtures – I mean, how often do you touch them? At least around here, it’s not much. :)

So for the kitchen fixture, I didn’t prime. I did light, quick sprays and worked my way around the light as it hung. I LOVE the way it turned out!:

It’s got loverly, graceful lines:

041Swoon! (Ignore the pantry door in front of the window!) Now the light hangs about 29 inches above the table instead of 31 (I know, but I notice.) And it’s 23 inches wide instead of 18 inches – which fills in that area much better.

Visual substance and all.  ;)

I’m thinking of an update for the shades – you know I can’t leave well enough alone!

The Krylon oil rubbed bronze paint I used dried super fast, even out in the freaking-insane-I’m-sweating-just-standing-here-heat we had today, but you need to be sure to let anything you spray paint cure (dry) long enough before you handle it.

Because I’m insanely impatient, I waited till this fixture was dry to the touch and then started installing. Because of that, there were a few little scratches here and there after I got it up.

I just threw the sheet over the kitchen table and sprayed little touch ups. I don’t recommend doing this unless you really have yours spaces covered. But I am me and me is crayyyyzay! :)

So if your project doesn’t go just right, what do you do?

Q:  How do I fix bubbles/crackling/drips/oopsies?

A: Imperfections usually mean one of two things – either you didn’t prep properly so the paint isn’t adhering well, or you are spraying too much, too fast. Drips always mean you’ve used too much. To correct those, wipe them off immediately if you can, then spray over. If you notice them later, sand it down lightly and spray again.

Same goes for crackling. Whenever I see that it means I haven’t prepped well. Sometimes I’ve noticed crackles when I’m using spray paint that has been in the heat or the item I’m spraying has been in the heat.

Crackle can be harder to cover – so sand down as much as possible and spray again.

If you follow these tips, you should get a finished product that will last you for years!:

You can transform just about anything with a can of spray paint! For a few bucks you can spray outdoor furniture, plastic stuff, furniture (I usually only recommend spray paint for smaller pieces – otherwise it gets expensive!), baskets – whatever!

Light fixtures are one of my favorite items to use spray paint on – you can make a builder grade shiny brass light look fantabulous with a $6 can of spray paint!

And anymore your color choices are endless -- the metallic options are great too. You know how I love the ORB, but I also used brushed nickel all over the Bub’s big boy room and I LOVED it:

built ins

The possibilities are truly endless – I’ve seen some of the most outdated, hideous “befores” become some amazing, up-to-date afters with just five minutes with a spray paint can. :)

Try it out and I swear you’ll be hooked!

Any of you seasoned spray painters got a great spray paint project you want to share? Link it up in the comments!

Any other questions? I’ll answer them in this post or in the comments throughout this week.

Thank you to this week’s sponsor!:

rustedcapture125

The House of Luck

I haven't seen the new Sex and the City movie yet because I've read some not so great reviews. I am curious to finally see the fashions and interiors but so much that I feel like giving up two hours of my life just yet. I'm surprised at how much attention has been given to the fact that they shot the movie in Morocco for two months which was used as a stand in for Abu Dhabi. What would have been more interesting is if part of the film actually took place in Morocco and more specifically, in Tangiers, at the former home of Yves Saint Laurent and Pierre Bergé, seen here. It was decorated by the illustrious interior designer Jacques Grange and was for sale last year and might possibly still be available. I can't find any record of it being sold. Perhaps Carrie and the girls could have rented it while getting away from their lives in New York or used it as a pit stop on their way to visit Christian Louboutin on his houseboat on the Nile. Couldn't be any worse than them wearing harem pants in the desert and falling off camels. The house also happens to be named Villa Mabrouka which means House of Luck. Sounds like they could have used some. Enjoy!


Photos by Ivan Terestchenko and Christie’s Great Estates

French Country Play Kitchen


Materials: STAT doors, random unknown shelves/cabinet doors, RATIONELL shelves

Description: To make this kitchen I raided the "As-is" section at our IKEA. They always have an assortment of cabinet doors and single shelves in a variety of sizes; many for $1-$5 each. It took some patience and creativity, but eventually I found some to fit the sizes I needed. I used the shelving/cabinet doors to construct a frame, and screwed a larger (12x30) STAT cabinet door onto the frame to make the backboard. The RATIONELL shelves are the countertop. I would have preferred a single piece of wood, but these were a buck each, and I cut them to size with a circular saw. FYI, all the components are melamine, so you MUST pre-drill any holes for screws.


The hooks are BYGEL, and they fit perfectly over the backboard. The oven handle is an ATTEST, also from the As-is. Actually, all the components are from as-is except the hooks, but they're only 99 cents. All in all, the kitchen cost about $50 in IKEA components. The burners are foam board and felt, and the sink is a mixing bowl. The faucet was 3 bucks at our re-use building supplies.

~ Anny, Seattle, WA

Jewelry display tray


Materials: Ribba Frame, Polarvide blanket

Description: My girlfriend keeps on leaving her jewelry on top of our new (and rather expensive :/ ) white lacked piece of furniture. It was time to build a solution to avoid scratches and display jewelry in style. My idea, her perfect execution!

TOTAL cost of the hack: 16 Eur
TIME required: 15 min (at most!)
ITEMS required:

1x RIBBA Picture Frame. There are several sizes and styles, choose the one that fits you best
1x POLARVIDE blanket. Again, there are different sizes.
8x STABILT rubber feet. I think you can get them on IKEA, but this ones are from a hardware store

STEPS

1- Open the picture frame and use the back board to measure the amount of blanket required.


2- Cut a single piece of blanket 2 cm bigger than the back board of the picture frame.


3- Wrap the back of the picture frame with the piece of the blanket and close the frame.


4- Stick some rubber feet so the tray doesn't scratch the surface of your furniture and doesn't slide.


5- Put your day to day jewelry / watches / coins on top and enjoy.

~ pep0, Berlin

Salt Water


Giveaway weekend!


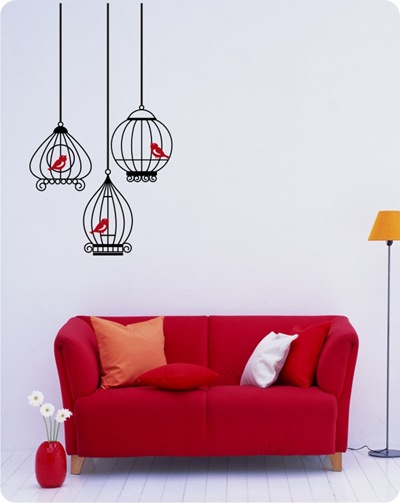
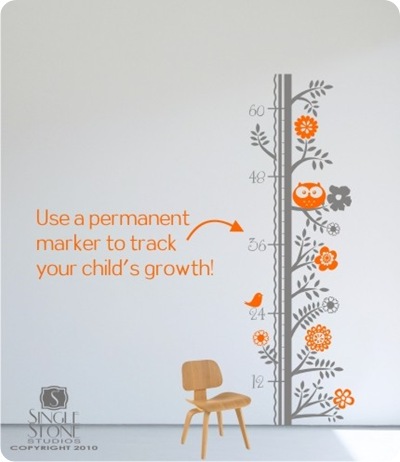
I am SO excited about this weekend’s giveaway! If you’ve read this blog for a while, you know how much I love vinyl wall art -- I think it’s a fun, easy, inexpensive way to add a unique look and a touch of whimsy to a room.
Well, my advertiser Single Stone Studios has some fantastic vinyl art you’ll be drooling over! Yippee!
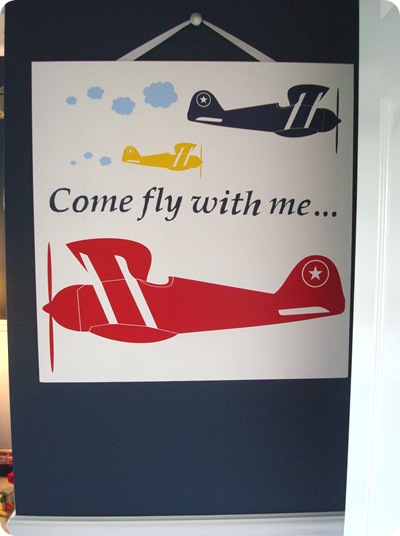
I showed you how I used vinyl from Single Stone Studios in the Bub’s room:

Billy at Single Stone sent me the airplanes, in the specific sizes and colors I asked for AND they when I told them I wanted little “puffs” of smoke, they knew exactly what was in my head! They custom made the puffs that come out from behind the plane.  Adorable, eh?
I felt like the sign still needed a little somethin’ more…so I got one more little plane in yellow to tie in all of the colors in the room. Just to show you how easy it is to use this stuff, I took some pics of the “installation” process.
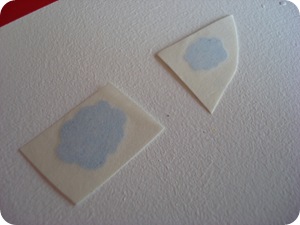
First of all, no matter what the size of the vinyl (but especially if it’s large!) – I cut out the design so it’s easier to work with:

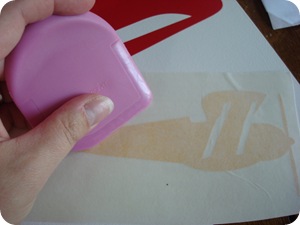
I use a pan scraper to rub the vinyl, but you can use anything with a hard edge – credit card, whatever:
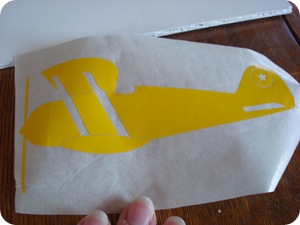
You want to rub the vinyl to ensure it adheres to the sticky paper. When you pull the papers apart, you’ll be left with the vinyl exposed:

If the vinyl doesn’t come off on the sticky paper on it’s own, you can help it along with your fingernail. :)
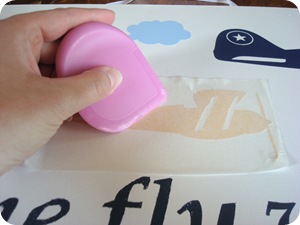
Then place it where you want it (I use a level on the wall for larger items) and rub it again with the scraper to make sure it sticks to the surface:

Peel away the paper, and yer done!:
airplane vinyl
TOO cute!! (Notice the creative cropping so you don’t see the pile of toys on the floor?)  :)
I’m not just saying this peeps – Single Stone Studios has some of the most innovative, unique, adorable vinyl art I’ve seen! Just wait!
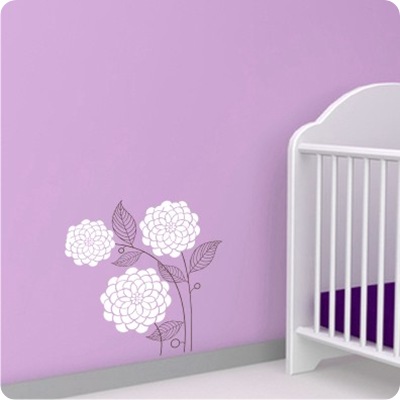
This is just stunning. STUNNING:
blossoms
You know that wall space above your sofa? The huge space you never know what to do with? THIS is what you can do with it. This works. :)
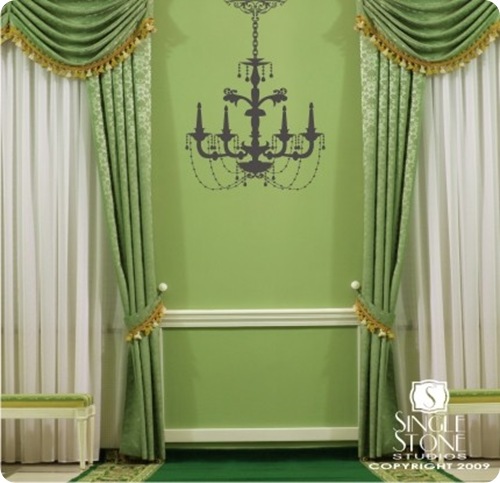
Can’t have a real chandy in a room? How about one on the wall?
chandy
I love that gray tone. Swoon!
How about adding some architecture where there is none?
column
Without the $1000 fee from a contractor.  ;)
How totally fun is this for a media room or a basement?:
theater
HOW COOL! Or how cute would one of these be next to a little kid’s stage in a play area, using their first name? I wish they had this stuff when I was a kid!
What I love about vinyl is you can paint mdf, wood, whatever, install it on there, maybe frame it out and then it truly becomes art you can take with you anywhere. And that makes it a great option for renters!
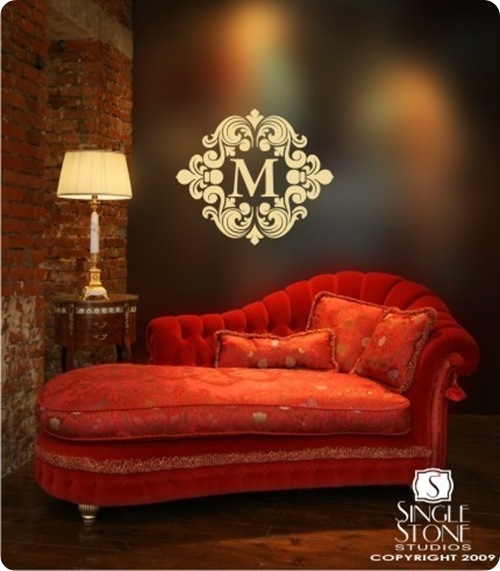
I LOVE their selection of monograms, especially this one!:
monogram
Gorgeous!
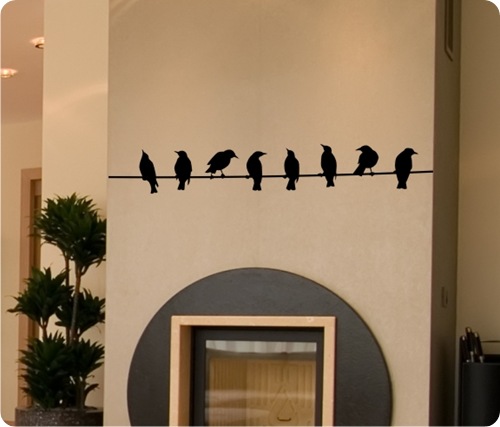
You bird lovahs out there will have a conniption when you see some of these:
bird wire birds
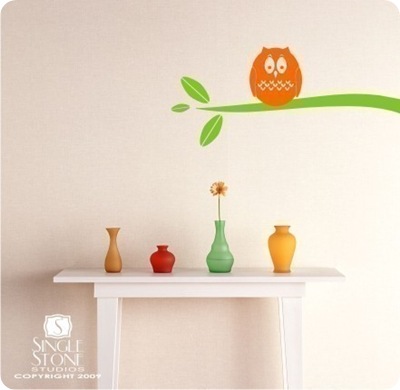
winterowl
Gah, I’m becoming such a sucker for owls! Adorable!
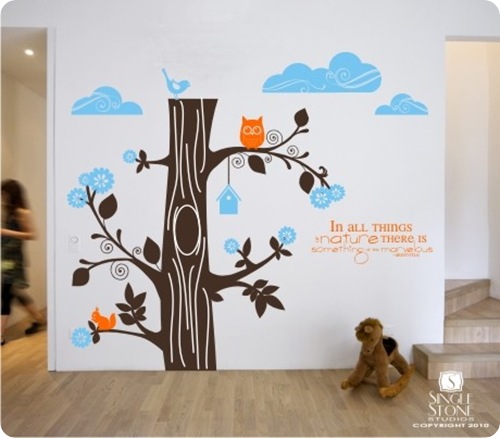
Of course the selection for kid’s rooms is amazing:
nature
moonflowerschart
And you can always purchase phrases as well! I love this one for a kid’s space:
Seuss How perfectly perfect for a teen’s room too. :) I’m determined to find a spot for that one!
And don’t yell at me -- I know it’s not even June! I KNOW. But seriously, I gasped when I saw this one:
snowman
Can you blame me? Sigh.
Single Stone Studios offers 40 different colors to pick from for your vinyl, in matte or gloss finish (love that!) and they even offer the etched glass vinyl! Awesome!
The folks at Single Stone are graciously giving one of YOU a $50 gift card to use as you wish at their shop!
You know the drill! For your first entry, leave a comment here. For a second chance to win, visit the Single Stone Studios site, pick out a favorite item, then come back here and leave a comment telling us what it is.
This giveaway will run through noon (Eastern time) on Tuesday the 1st.
Have FUN and I hope you have a lovely, warm and SAFE Memorial Day weekend!
**I want to say a special thanks to the men and women who are serving, have served, or are about to serve (we know a recent high school grad who is one of them!) our country. AND a big thank you to the families who support them.
I cannot thank you enough for the sacrifices you all make to protect this great nation.
God bless you!

Check out this stream